Bills Must Be Paid Bill Planner Tool
Use a practical Bills Must Be Paid planning checklist to decide whether to pay a bill, buy an upgrade, chase loot, or stabilize.
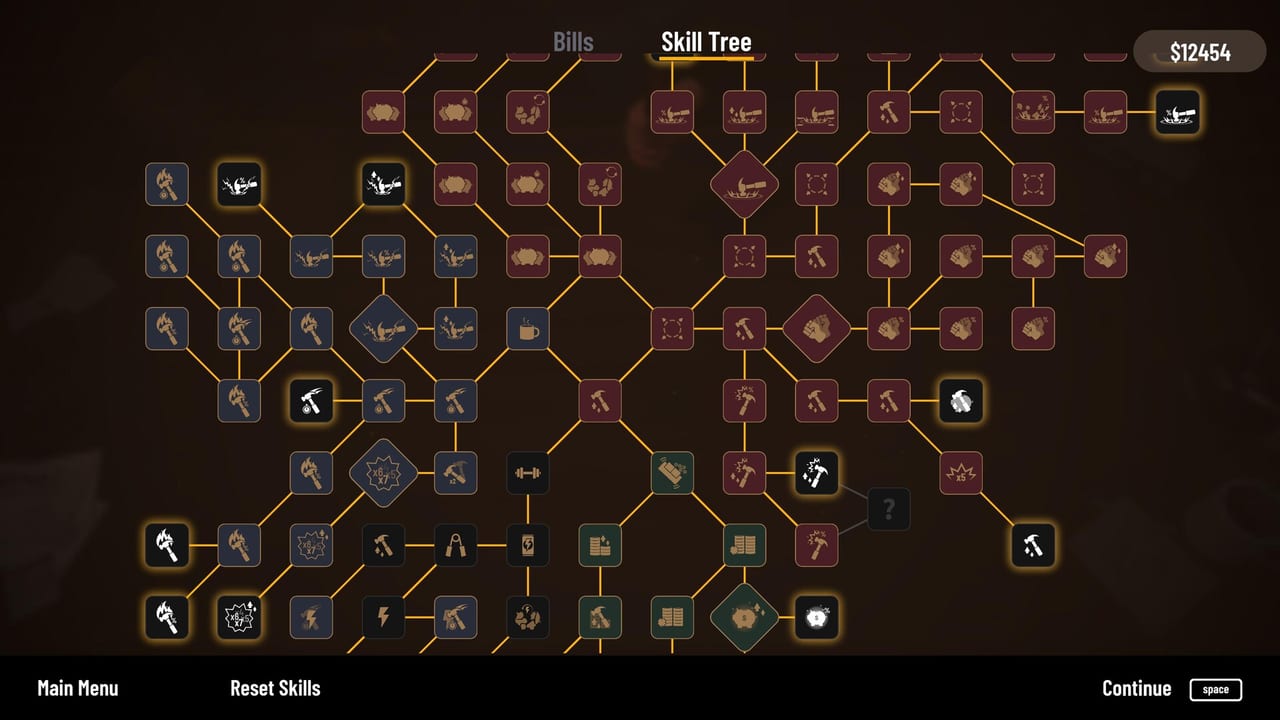
A decision tool for every run
This tool is a written planner rather than a calculator because Bills Must Be Paid depends on active timing, target spawns, and changing perk choices. Use it while playing the demo: when a bill appears, pause your autopilot and classify the situation. The goal is to replace panic with a repeatable decision.
The tool has four questions: Is the bill urgent? Is the next upgrade specific? Will the upgrade pay back before danger? What problem ended the last run? If you can answer those questions, you can usually choose between paying, buying, chasing loot, or stabilizing.
Step one: classify bill pressure
Green pressure means the bill exists but is not threatening. You have enough time to earn, collect, or buy a planned upgrade. Yellow pressure means the bill is approaching and your next action should prepare payment. Red pressure means the bill is due soon or collector pressure is already active.
In green pressure, look for value. In yellow pressure, look for certainty. In red pressure, look for survival. This simple traffic-light model is the heart of How to Pay Bills.
Step two: test the upgrade
Before buying, name the upgrade’s job. Does it extend stamina? Increase reliable income? Improve hammer comfort? Add variance? If you cannot name the job, do not buy yet. A random purchase may feel productive while making the next bill harder.
Then ask whether the upgrade can pay back before the bill turns red. If yes, buying can be correct. If no, pay first or keep earning. This is especially important for luck and rare coin upgrades, which may need several spawns before they matter.
Step three: decide on loot chasing
Rare coins, jackpot targets, and special piggies are tempting. Chase them when the bill timer is safe and the path is efficient. Skip or delay them when payment is urgent. A rare reward that causes collector pressure may not be a reward at all.
Use the Items Guide to understand target types, then apply this tool in the moment. The right answer changes with stamina, cash, and timer state.
Step four: review the failure
After a failed run, write a one-line cause. Examples: “stamina ended before second bill,�?“collector started after greedy upgrade,�?“hammer felt too slow,�?or “chased jackpot during red bill.�?Each cause points to a guide. Stamina problems point to Best Early Upgrades. Payment problems point to How to Pay Bills. Tool comfort points to Items.
This review habit turns failure into progress. Bills Must Be Paid is short enough that every run can teach something if you name the mistake.
Frequently Asked Questions
Quick answers for the live Steam game, free demo, and browser play.
Is this an interactive calculator?
No. It is a practical decision checklist because the game depends on live timing, spawns, and player control.
What does green, yellow, and red pressure mean?
Green means safe to plan, yellow means prepare payment, and red means stabilize or pay immediately.
When should I chase rare loot?
Only when bill pressure is green or safely yellow and the target path does not wreck your stamina or payment timing.