Bills Must Be Paid Upgrade Tier List
Use a practical Bills Must Be Paid tier list for early upgrades, hammers, perks, and run priorities without ignoring bill timers.
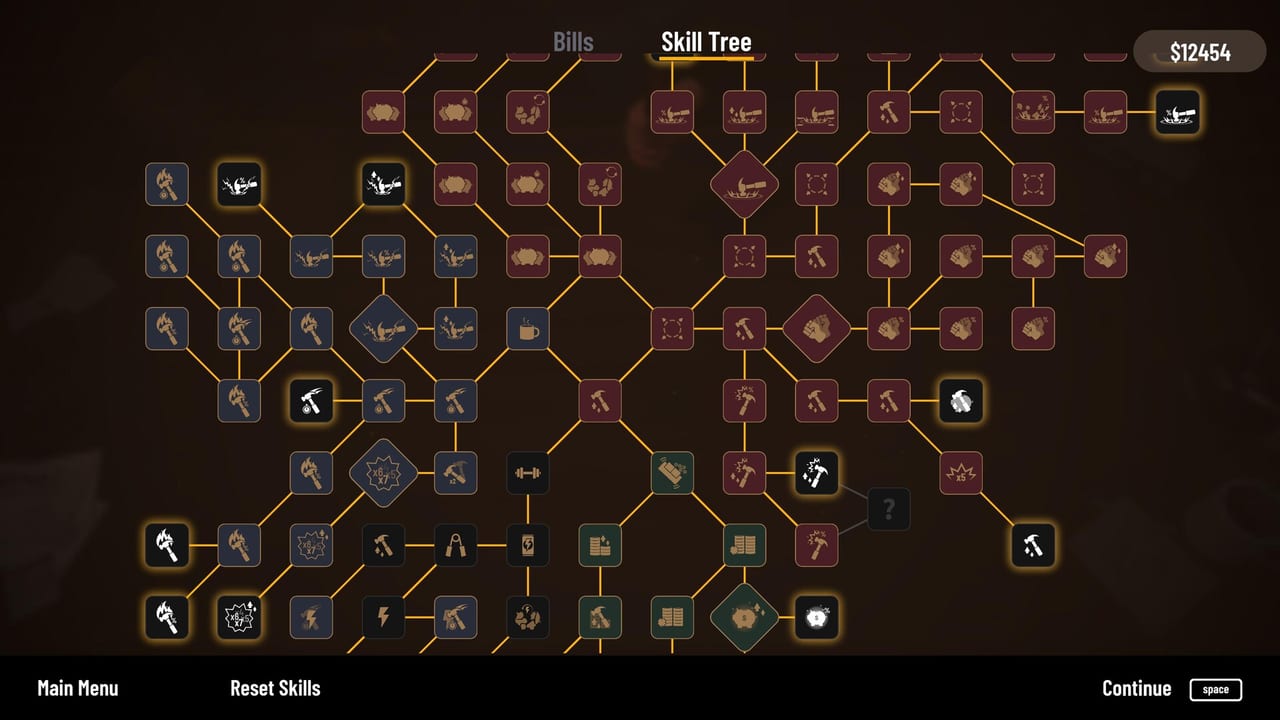
How this tier list works
Bills Must Be Paid does not reward a static list as much as a good diagnosis. A tier list can still help if it ranks priorities instead of pretending every run is identical. The highest tier contains choices that make more runs stable. The middle tier contains choices that become strong with the right support. The lowest tier contains choices that are risky early or too dependent on rare conditions.
Use this page together with Best Early Upgrades and How to Pay Bills. If a bill is close, the best tier may be paying the bill. If stamina is about to end, a theoretical income upgrade may not matter. Context decides.
For hammer-specific rankings, see the Hammer Tier List which evaluates each tool by speed, radius, crit chance, and damage. For perk-specific rankings by situation, see the Perk Tier List.
S tier: consistency and payment safety
Stamina support, grip consistency, reliable hammer handling, and payment timing belong at the top for new players. These choices help you stay active long enough to reach more bills and perks. They also reduce the chance that one mistake collapses the run.
A run that lasts longer with steady income gives every later choice more room. That is why consistency beats flashy variance in the first few sessions. Once you know the loop, you can move toward more aggressive choices.
A tier: income acceleration
Income upgrades, crit consistency, spawn value, and hammer efficiency are excellent once the run is stable. These choices help you pay bills faster and buy the next upgrade sooner. They are especially strong after a stamina or grip perk covers the survival problem.
The danger is timing. Buying income acceleration too close to a bill can trigger collector pressure before the upgrade pays back. In green state, A-tier income can become S-tier. In red state, it can become a mistake.
B tier: luck and rare outcomes
Luck, rare coins, jackpot-focused choices, and high-variance perks can be powerful, but only when you see enough targets. If the desk is busy and your stamina is healthy, variance has time to work. If the run is short, luck may do nothing before the bill arrives.
Treat B tier as scaling support. It is not bad; it is conditional. The Items Guide explains how piggy types and rare coins can change the value of these choices.
C tier: comfort-breaking choices
Any hammer or upgrade that makes you miss more often drops in value for beginners, even if its numbers look good. A smaller radius, slower timing, or awkward rhythm may be excellent for experienced players but harmful while you are learning. Comfort matters because Bills Must Be Paid is active. A strong tool you cannot use is weaker than a modest tool you can use consistently.
Launch features to watch
The full game adds prestige rings, bracelets, desk gadgets, more piggy types, more hammers, and an ending. The Prestige System and Desk Gadgets pages cover the new progression systems. Those systems may reshape the list. The principle should remain the same: consistency first, income second, variance when stable, and payment safety whenever a bill timer turns dangerous.
Frequently Asked Questions
Quick answers for the live Steam game, free demo, and browser play.
What is S tier for beginners?
Consistency: stamina, grip, reliable hammer handling, and decisions that keep bills from triggering collector pressure.
Are luck upgrades bad?
No. They are conditional. Luck improves once your run has enough target volume and stability to see rare outcomes often.
Will the tier list change after launch?
Yes. Prestige rings, bracelets, desk gadgets, and more hammers may shift priorities after the full release.